
It's been a few months since I've blogged about building my cedar strip canoe. In my last post, I blogged about picking out the plans and getting them printed. In February, a large construction project at work finished up. To protect people from falling objects, a framework of scaffolding was erected over a walkway, and then encased in plywood. The construction company was just going to throw the plywood out, so a few weeks before the project ended, I asked the Project Manager and Superintendent if I could have the plywood, if in fact they were going to throw it away. They said yes, so in late February I borrowed a truck from a friend and brought home a dozen sheets of 3/4 inch plywood along with a few 2x4's. It was a major score! I sorted through the lumber and picked out the best sheets for the strongback and forms for my canoe. I turned another 2 sheets into shelves in my storage room, and gave the rest away.

I taped around the edge of the plans with blue painters tape, then ever so carefully lined the edge of where I needed to trace with the edge of the plywood, taped it to the plywood, then inserted several sheets of carbon paper underneath, and scribed my first form onto the plywood. Be sure to keep the alignment between the plans and the plywood consistent on every form!
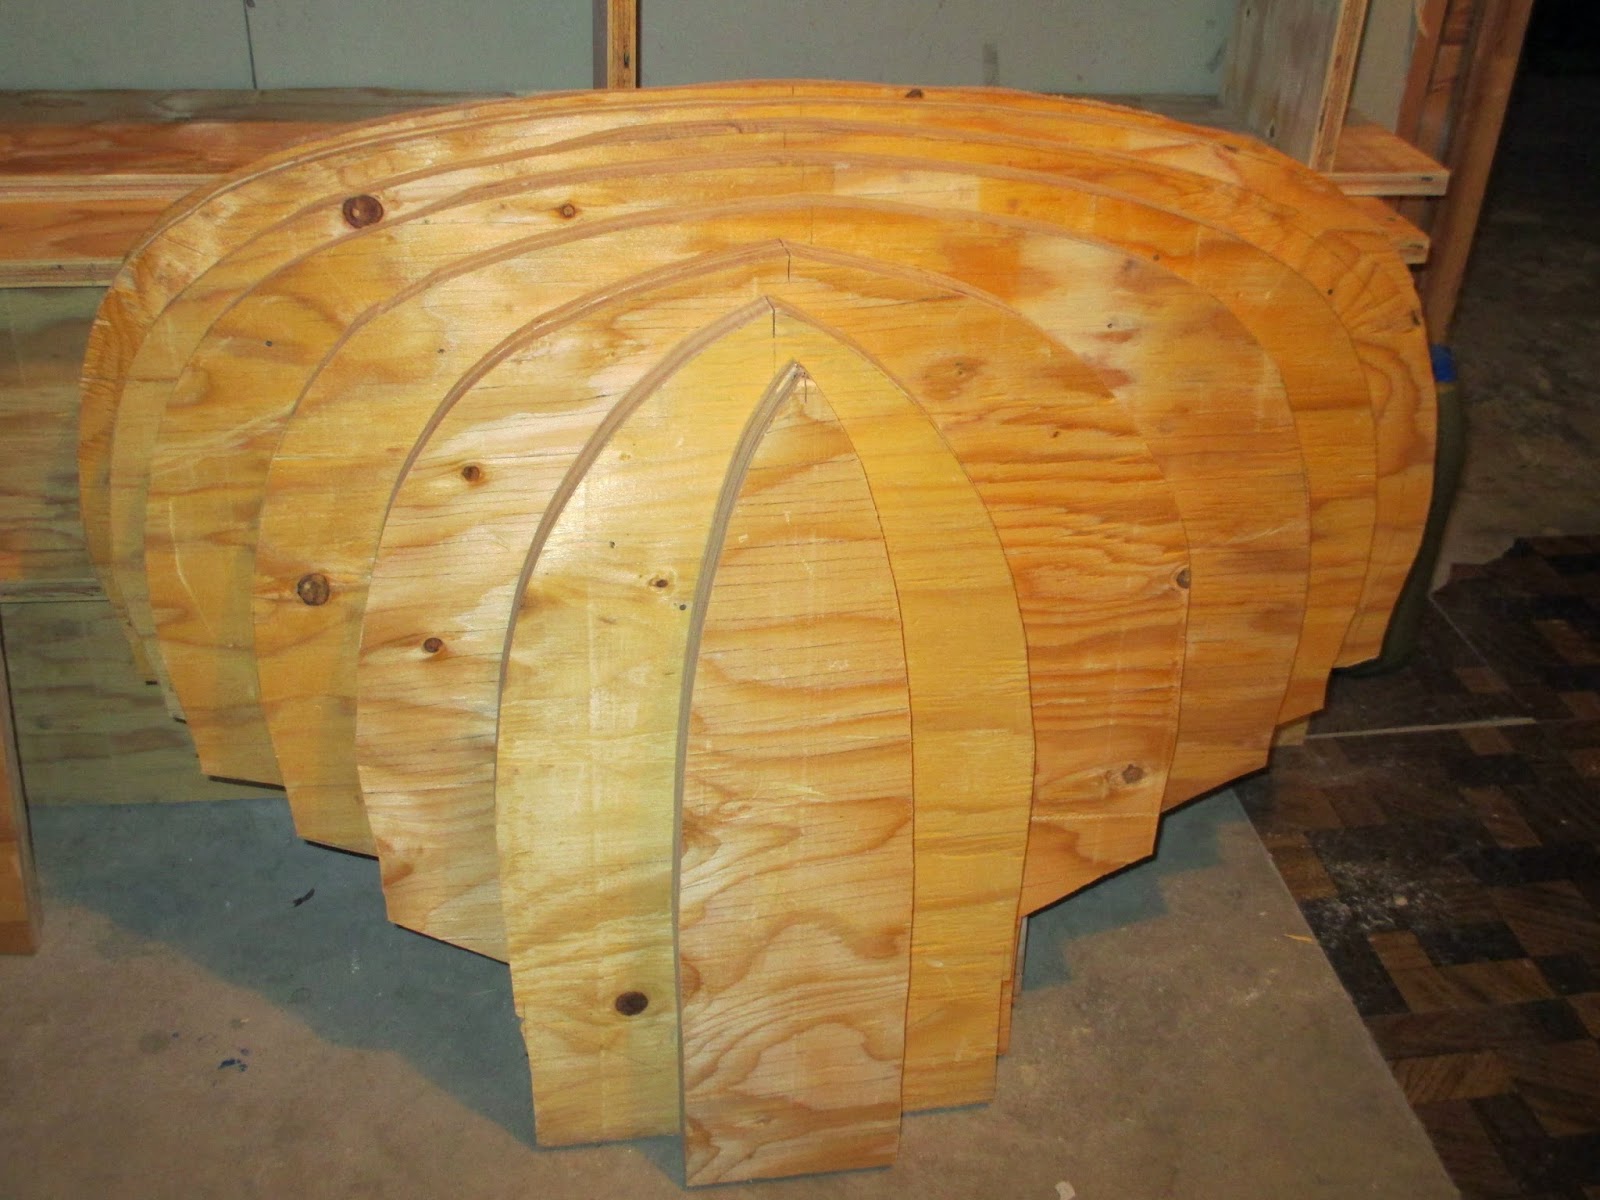
Over the next few nights after the kids were in bed, I'd trace a few new stations on the plywood until I was complete. I just started with the largest center form, then moved down the plywood and traced the smaller forms on a blank space until I was done. After transferring each outline, I wrote the form number near the center of the form.
If you intend to do the same, it might be a better idea to gauge the width of the different forms and vary the spacing accordingly to result in less waste, or to ensure that you only need 2 sheets of 4x8 plywood. Because I didn't measure, I needed a little bit extra.

I trimmed off the excess wood the best I could, then brought the rough cut forms over to a friend's house to borrow his band saw. A few nights later, I had the forms all cut out and ready to true up. When cutting the forms, I stayed slightly on the outside of the transferred line. It's better to be generous in your cut then it is to cut too much off of the form on the inside. I then got a belt sander and touched up the forms to bring them into their final shape. I found that it's best to leave the symmetrical forms nailed together while touching up with the belt sander initially. After the forms are really close, with only a few small spots to clear up you can take the sandwich apart and work on each form individually.
Note: If cutting the forms out yourself isn't your thing, a lot of sign shops and cabinet shops have digitized routers that can handle 4x8 sheets. If you've got connections, or are willing to pay a small fee they may be willing to do it for you. It never hurts to ask.
No comments:
Post a Comment